Leak Proof Plastic Bottles: Features That Prevent Packaging Failures
November 13, 2026
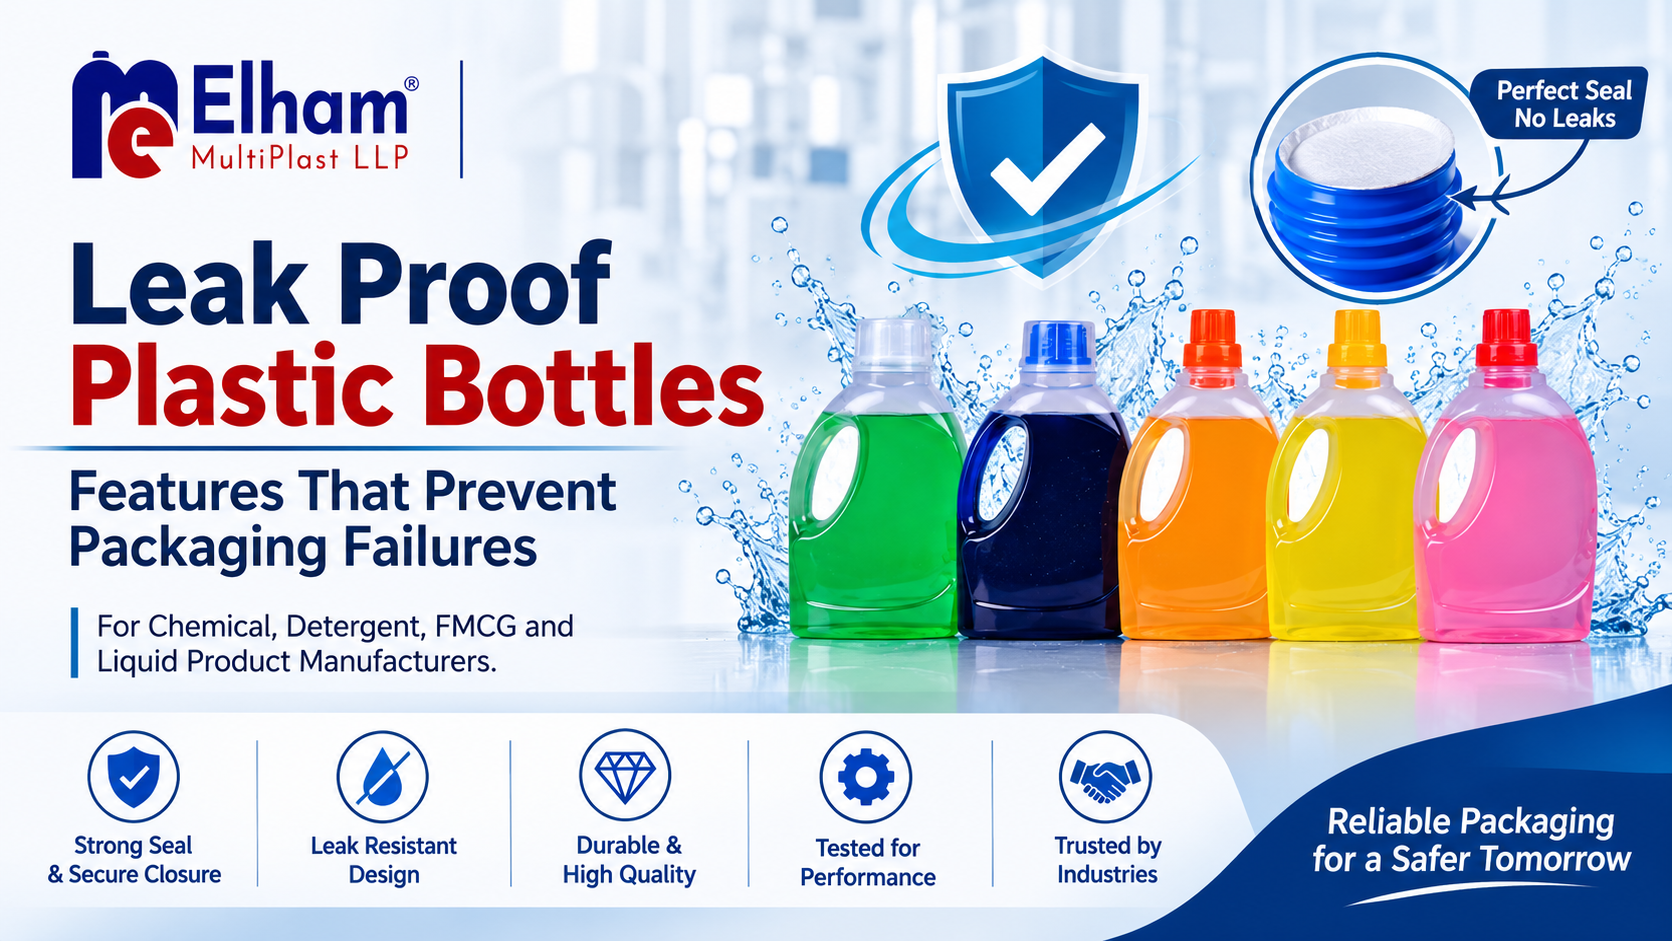
A bottle rarely leaks because the plastic was bad. It leaks because four or five small things did not agree with each other on the day the product was capped: a neck, a thread, a liner, a torque setting and, later, a truck full of vibrating cartons. Whether you pack HDPE bottles for liquid detergents or agrochemical and pesticide formulations, the same few details decide the outcome.
That is why leak proof plastic bottles are better understood as a system than as a product. If you fill detergents, agrochemicals, lubricants or other liquids, this guide covers the features that actually stop leaks, the failure each one prevents, the tests worth asking for, and the questions to put to any supplier before you approve a pack.
Quick answer: what makes a plastic bottle leak proof?
Leak proof plastic bottles are packs where the bottle, closure, liner and capping process are engineered and tested as one sealed system. The features that matter most are a matched neck finish, a clean and even sealing surface, the right liner (usually an induction seal for liquids), a validated closing torque, even wall thickness, and proven leak, drop and burst test results.
What “leak proof” really means
No plastic bottle is leak proof in an absolute sense. The phrase only has meaning against a test. Some laboratory bottle makers are careful enough to say “leak resistant” for exactly this reason.
For dangerous goods transport the benchmark is concrete. Under the UN leak proofness test, the packaging is restrained underwater for five minutes while internal air pressure is applied, and it passes only if nothing leaks. The pressure is not less than 30 kPa for Packing Group I and not less than 20 kPa for Groups II and III. The test is required for packagings intended to carry liquids, but not for the inner packagings of combination packagings, so confirm how your own pack is classified with your logistics or regulatory advisor.
A more practical definition for a brand owner: a bottle is leak proof if it holds under the conditions your product will really meet. That means filling temperature, stacking, trucking, summer heat, sea freight and, for household products, a customer squeezing the bottle in a wet bathroom.
The five leak paths in a liquid packaging bottle
Before choosing features, it helps to know where liquid escapes. Almost every field failure we see discussed in packaging teams falls into one of these five paths.
| Failure you see | Likely leak path | Feature that prevents it |
| Cap spins on easily after a week | Threads and back off | Matched neck finish, validated torque window, anti back off design |
| Wet cartons after sea freight | Liner or seal | Induction seal liner, vented liner for gassing products |
| Product weeps around the neck | Sealing surface | Clean, round, flat rim and correctly sized liner |
| Cracks near the base or handle | Bottle body | Even wall thickness, strong base and handle design, drop testing |
| Drips from the pouring edge | Dispensing feature | No drip spout and a properly seated liner under flip caps |
| Bottle walls pulling in or bulging | Pressure imbalance | Vented closure or resin and barrier choice suited to the product |
Eight features that prevent leaks in liquid packaging
Many buyers assume a 24 mm bottle will accept any 24 mm cap. It will not always. Neck finish codes such as 28/410 describe diameter and thread style, but small differences in thread height, profile and tolerance between suppliers can cause cap drag, where the cap binds before the seal is compressed. Packaging suppliers have documented this exact problem: finish drawings that are never compared against the industry standard.
What to do: ask for the neck drawing and the cap drawing, and have both checked against each other before you commit to a design. If your bottle and cap come from different suppliers, trial them together on your own line.
The top edge of the neck is where the liner does its work. Ovality, flash, burrs and parting line marks reduce the area that actually seals. Residue is just as damaging. Oils, particles and dried product on the rim can stop an induction liner from bonding at all.
What to do: inspect neck rims under good light on every sample batch, and keep product off the rim during filling.
The liner is the part most buyers think about last, and it is often the cheapest fix. Here is how the common options behave.
| Liner type | Works well for | Watch out for |
| Foam or pulp backed wad | Simple closures, low risk products | Weak hermetic seal, loses spring back over time |
| Pressure sensitive liner | Dry or thick products | Not considered a hermetic seal, a poor choice for water or oil based liquids on long routes |
| Induction foil liner | Most liquids, plus tamper evidence | Needs an induction sealer, sealant layer must suit HDPE, rim residue blocks adhesion, too much power can scorch the neck |
| Linerless plug or double seal cap | Many laboratory and consumer bottles | Depends on the exact bottle and cap pairing, so use only the cap designed for that bottle |
| Vented liner | Products that release gas, some concentrates and agrochemicals | Must be matched to the formulation so it breathes without weeping |
For most liquid products travelling any distance, an induction seal is the safest default. It also gives you tamper evidence as a bonus. The exceptions are gassing formulations, which need a vent.
Back off is the quiet cause of many transit leaks. Look for thread designs with enough engagement depth, tamper bands that lock the cap in place, and caps made from a material suited to your liquid and your climate. Polypropylene and polyethylene caps behave differently under heat, so match the cap to the real temperature range of your supply chain, not just to the filling line.
Here is the counterintuitive part: tighter is not safer. Over tightening can deform threads, crush liners and create stress that shows up days later as cracked caps or a cap that pops loose after cold storage.
One packaging industry rule of thumb puts application torque at roughly half the closure diameter in millimetres, expressed in inch pounds, with removal torque falling between 40 and 60 percent of that value after 24 hours. Treat that as a starting point only. Different caps, liners and bottle materials need different targets, and the right number is the one proven by leak testing on your own packs. Measure both application and removal torque, and check removal torque the next day, because that drop shows you how much the closure relaxes.
A leak does not always start at the cap. Thin spots on shoulders, weak base welds and stressed handle joints crack under drop and stacking loads. Wall distribution is a design and process question: it depends on the mould, the parison control and the blow moulding settings. Ask for drop test results on filled bottles, with the drop made on the base, the shoulder and the cap end.
HDPE resists many acids, alkalis and detergents, but surfactants can cause environmental stress cracking and some solvents swell or permeate the wall. If your formulation is aggressive, a barrier or fluorinated bottle may be needed. We cover this in detail in our guide to HDPE bottles for chemicals, including a compatibility table and a validation process.
Products that release gas push against the closure and can deform the bottle. Heat in transit raises internal pressure even for stable liquids. Vented closures equalise pressure while holding the liquid in, and a correctly sized headspace gives the product room to expand. Do not fill to the brim to save on packaging cost.
Which tests prove a bottle is leak proof?
A supplier who says “our bottles are leak proof” should be able to show you how they know. These are the checks worth asking for.
| Test | What it simulates | What to ask |
| Application and removal torque | Capper settings and back off | The torque window per closure, and removal torque after 24 hours |
| Leak test (inverted, squeezed, pressure or vacuum) | Cartons lying on their sides, hot trucks | Method, duration and sample size |
| Drop test | Handling, forklifts, courier hubs | Filled or water filled, drop height, drop orientation, leak check afterwards |
| Burst or internal pressure | Heat, gas release, squeezing | Pressure applied and the pass criteria |
| Top load and stacking | Pallets in a warehouse | Load, duration and bottle condition at the end |
| Vibration and thermal cycling | Trucks, sea freight, summer sheds | Whether filled, capped and sealed packs were used |
| Compatibility ageing | Chemistry attacking the resin or liner | Weeks at room and elevated temperature, weight loss and panelling checks |
At Elham MultiPlast, our bottles go through torque, leakage, drop and burst strength checks, which you can read about on our quality assurance page. For your own product, the most valuable test is always the one run with your formulation, your closure and your liner together.
Matching features to your product
| Product | Main leak risk | Features to prioritise |
| Liquid detergent, dish wash, fabric softener | Foam at the rim, stress cracking, dispensing caps | Stress crack resistant resin, no drip spout, pre seated liner under flip caps, clean sealing land |
| Agrochemicals and pesticides | Aggressive solvents, gas release, high consequence of a leak | Induction seal, vented option where needed, barrier bottle for solvent heavy formulas, tamper band |
| Lubricants and coolants | Thin oils creeping through threads, heavy fills, oily necks | Induction seal, strong handle and base, drip control, clean rim |
| Household and FMCG liquids | Fast filling lines, consumer squeezing | Tight neck tolerances for high speed cappers, validated torque, drop and squeeze testing |
You can see how these ideas apply across our range of liquid detergent bottles, agro chemical and pesticide bottles and lubricant bottles. If pesticides are your category, our article on what makes a good pesticide bottle goes deeper.
Six checks to run on your own filling line
Even a perfect bottle can leak if the line works against it. Before blaming the supplier, check these.
An illustrative example: the pallet that arrived damp
This is a hypothetical scenario, not a client case, but it mirrors problems packaging teams describe often.
A company fills a one litre liquid cleaner warm, caps it with a pressure sensitive liner and sets torque by feel on the capper. The product passes a quick bench leak test. Three weeks later a pallet arrives with damp cartons after a hot journey.
The chain of causes is ordinary. Heat raised the pressure inside the bottles. Vibration worked on caps that had already lost some removal torque overnight. The liner was never a hermetic seal in the first place. No single part failed on its own.
The fix is equally ordinary: an induction seal liner, a torque window proven by removal torque readings at 24 hours, a vented liner if the formula gasses, and a transit style test on filled bottles before the next order.
Questions to ask any bottle supplier
If your answers to most of these come back vague, treat that as information. Our guide to choosing a plastic bottle manufacturer in India covers the wider checklist, and our comparison of custom vs stock bottles helps if you are deciding whether a dedicated mould is worth it.
How Elham MultiPlast approaches leak performance
Elham MultiPlast LLP manufactures HDPE, PET and PP bottles and jars from two units in Himatnagar and Surat, Gujarat, for detergent, lubricant, agrochemical, veterinary and other liquid applications. Our range runs from 200 ml fabric softener bottles to 5 litre dish wash bottles, in stock and custom designs.
We treat leak performance as a tested result rather than a promise, which is why torque, leakage, drop and burst checks sit inside our process. One food and beverage client told us their products have not faced issues even with frequent transportation, and that is the outcome we design for.
If you are planning a new liquid pack or fixing a leak problem on an existing one, share your formulation, closure type and filling line details, and we will help you choose a bottle and closure combination worth testing. You can request a quotation and samples here or browse our full product range.
Frequently asked questions
What makes a plastic bottle leak proof? A leak proof bottle is a matched system: a neck finish that fits the closure, a clean sealing surface, the right liner, a validated closing torque, even wall thickness and passing leak, drop and burst tests. A good bottle with a poor liner or wrong torque can still leak.
Are HDPE bottles leak proof? HDPE bottles are an excellent base for leak proof packaging because the material is tough and resists many liquids. Whether a given bottle stays leak proof depends on the closure, liner, torque and your formulation, so test the complete pack.
What is the difference between leak proof and leak resistant? Leak proof suggests nothing escapes under any condition, which no plastic pack can guarantee. Leak resistant is the more careful description. In practice, what counts is the test condition, such as a stated pressure held for a stated time.
Do I need an induction seal on my bottles? For most liquids shipped over distance, an induction seal is the safest option because it bonds to the rim and also shows tampering. Simpler liners can be enough for low risk products or short routes. Test your own route before deciding.
Why do bottles leak during transport? The usual causes are caps that back off from vibration and temperature change, liners that are not hermetic, pressure build up from heat or gassing, and weak spots that crack on impact. Most transit leaks come from several small causes acting together.
How tight should a bottle cap be? Tight enough to compress the liner evenly, and no tighter. Over tightening can crack caps and deform threads. Ask your supplier for a torque window validated on your closure and check removal torque after 24 hours.
How do you test a plastic bottle for leaks? Common methods are inverted or squeeze tests, pressure or vacuum tests, drop tests with filled bottles and vibration or thermal cycling on sealed packs. For dangerous goods, UN packaging tests hold the pack underwater under air pressure for five minutes.
Final thoughts
Leaks are rarely caused by one dramatic defect. They come from a small gap between what the bottle, the closure and the line each assumed about the others. Close those gaps on paper, then prove it on a filled, sealed and shaken pack, and leak problems become much rarer. Choose a supplier who is happy to discuss the details, because that conversation is where leak proof packaging is really made.
Sources and further reading
Leak Proof Plastic Bottles: Features That Prevent Packaging Failures
November 13, 2026

What Makes a Good Pesticide Bottle? Key Packaging Features to Consider
November 10, 2026

Why Gujarat Is Becoming a Hub for Plastic Packaging Manufacturing
October 24, 2026
HDPE Bottle Packaging for Chemicals: Key Benefits and Safety Considerations
October 22, 2026
Custom vs Stock Bottles: Which Is Better for Your Business?
October 22, 2026
Plastic Jars for Every Industry: Uses, Sizes and Benefits
October 5, 2026